
Hi, my name is Erik Pöhler. I'm a web veteran with 17 years of experience in the field.
I help individuals, small to medium-sized businesses and large corporations create engaging and successful websites and online stores.
My specialties are e-commerce, online payments, content management and the implementation of third party applications and services, such as APIs, CRMs & ERPs.
I share what I learn via this blog and occasionally publish articles and tutorials about web development and specific platforms.
You can reach me here.
 B2B back-office solution GoDaddy 'Web Design' products (Netsuite, Pipedrive, Calendly, Office365, Middleware) for Virket, Latin America
 B2B back-office solution GoDaddy 'Ecommerce' products (Netsuite, Pipedrive, Calendly, Office365, Middleware) for Virket, Latin America
 Payments, IVR API, Invoicing for Linio Retail E-Commerce, Mexico, Colombia, Peru, Chile
 Netsuite Integration, Payments, Backend for Dafiti Retail Store, Mexico
 Design, HTML & CSS for Sascha Wünsch, Actors agent, Germany
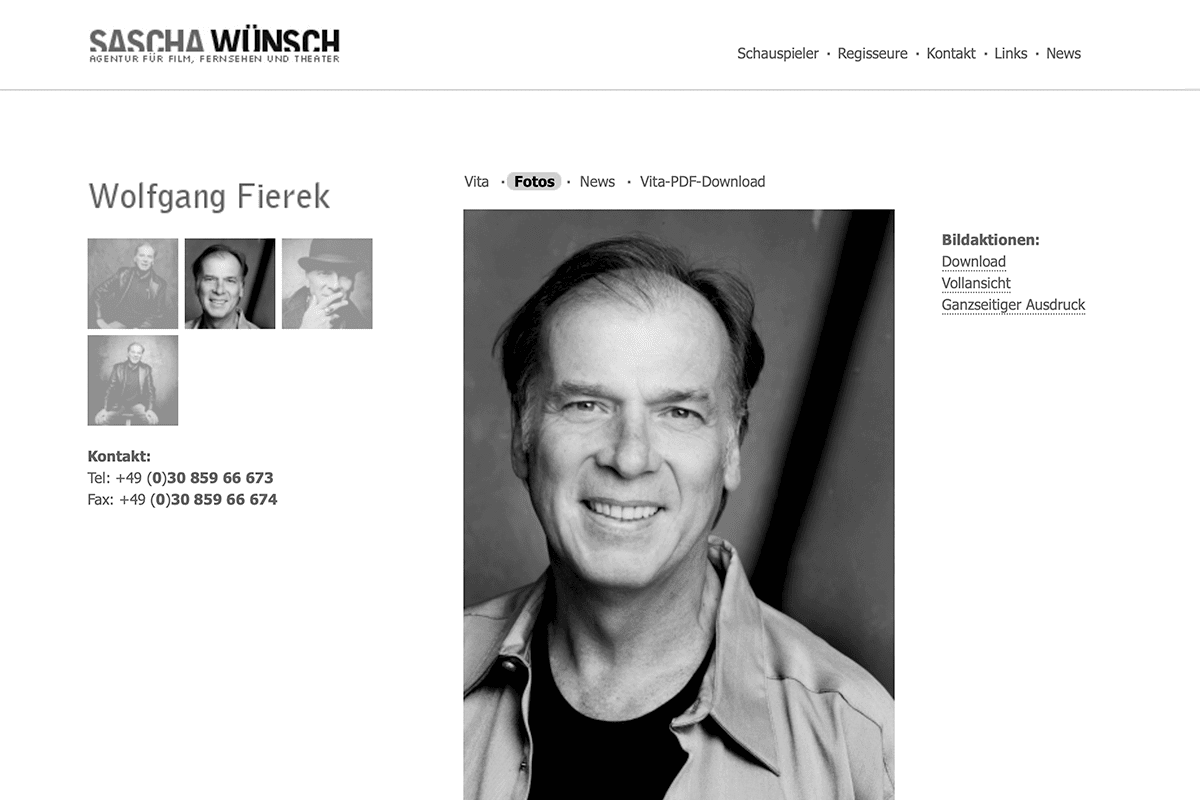 Design, HTML & CSS for Sascha Wünsch, Actors agent, Germany
 Design, HTML & CSS for Sascha Wünsch, Actors agent, Germany
 Team Lead Design, Frontend & QA, Responsive Frontend for Televisa, Mexico
 Team Lead Design, Frontend & QA, Responsive Frontend for Televisa, Mexico
 Backend & Frontend Development, Hospitality Booking for Royal Holiday, Mexico & USA
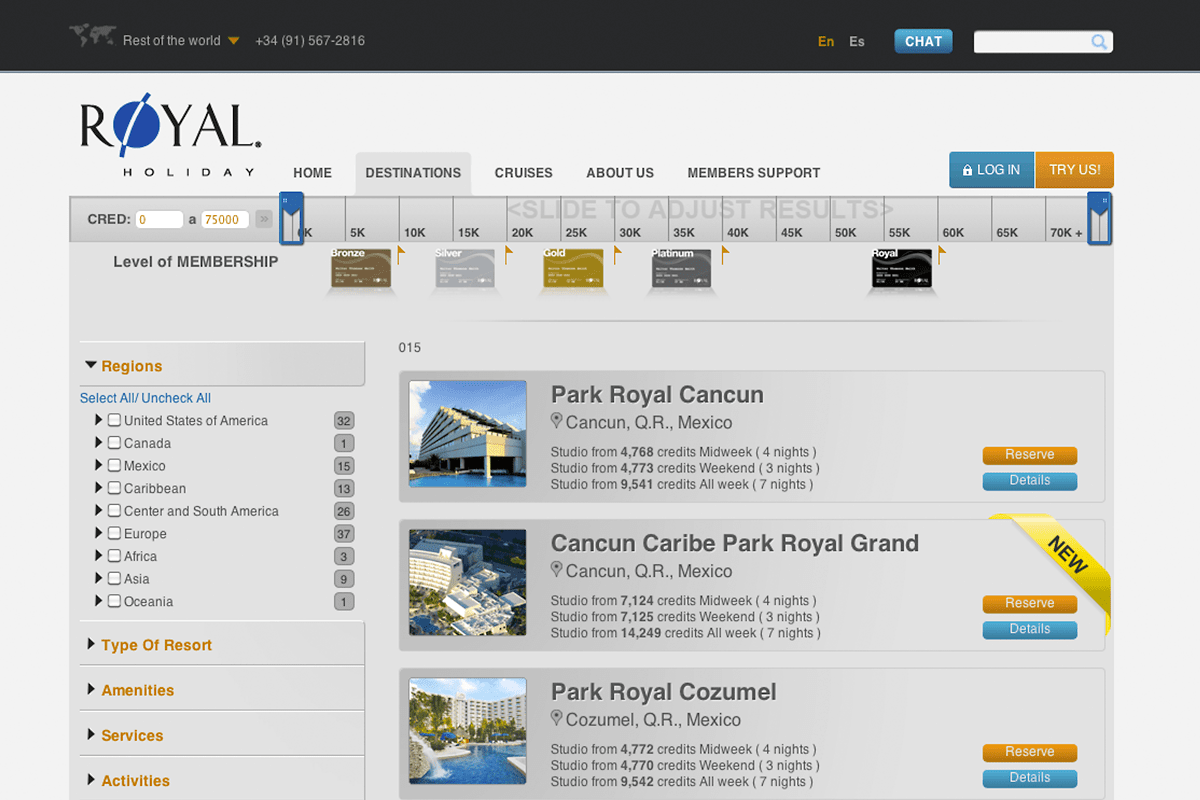 Backend & Frontend Development, Hospitality search for Royal Holiday, Mexico & USA
 Frontend, Microsites, Marketing for IQAir North America
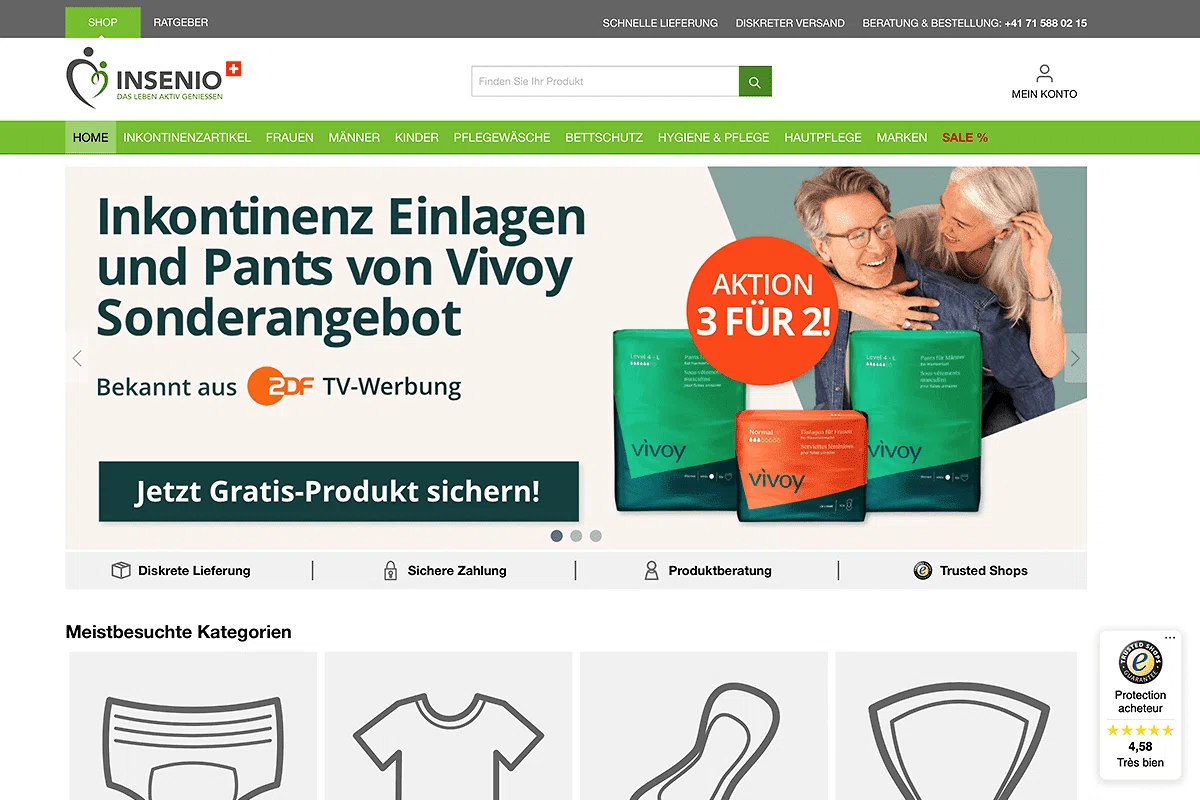 Shopware 6 Development, Team Lead, DevOps for Insenio Retail Stores, Europe
 Wordpress & WooCommerce Development, Team Lead, DevOps for Insenio Retail Stores, Europe
I develop Plugins and Themes for Shopware 6 – an increasingly popular ecommerce platform with SMEs. I help businesses with their infrastructure requirements for successful operations.
I set up development and production environments with Battle-tested, automated build & deploy pipelines.
Ibexa DXP is a Digital Experience Platform which unites CMS, Ecommerce, DAM & PIM features within a single robust platform. I develop custom solutions, integrations and create custom themes.
Starting at 5000USD 2026-07-06T02:38:25+00:00Loved by customers, editors and developers alike, Craft CMS is a powerful CMS and comes with Ecommerce features, which is extremely intuitive, robust and performant. I develop themes, plugins and do custom development for its ecosystem.
Starting at 5000USD 2026-07-06T02:38:25+00:00Automate your business processes. A CRM helps you manage your business more efficiently. I integrate CRMs into proprietary CMS, E-Commerce platforms or WooCommerce. The two CRMs I have worked with are Netsuite (full-feature enterprise solution) and Pipedrive (strong focus on customer experience, support and lead conversion).
Learn more Starting at 5000USD 2026-07-06T02:38:25+00:00Sometimes, an existing CMS or E-Commerce platform is not the right fit for you.
I also tailor custom solutions based on your requirements with PHP & MySQL. Middlewares, APIs, Intranets, Web Crawlers – you name it. I manage a number of PHP frameworks (Symfony, Slim, Laminas) to build applications with.
I develop Plugins and Themes for the worlds most popular CMS Wordpress and its ecommerce extension WooCommerce. Since every business has unique requirements, custom made plugins help you add new functionality to your online store. I also do SEO and performance audits on existing sites.
Starting at 500USD 2026-07-06T02:38:25+00:00


Erik was website developer and internet guru for several very critical projects. I always found him to be an absolute delight to work with on the projects where I needed his expertise. He was highly responsive and conscientious. A remarkable quality in a busy office where we often had to juggle multiple projects. I very much enjoyed having him as webmaster.
5 5 0
Erik was responsible for mainly backend-related programming such as implementing new payment gateways for various latin american countries and he maintained and improved existing payment methods. I also assigned him to develop a custom IVR implementation used to protect customers' credit card data. He also refactored our automated commercial invoicing system. He works very structured and organized and always exceeded expectations.
5 5 0
Erik is a proactive, thorough and tireless developer with attention to detail. He is open minded, has a great will to help and a rich set of abilities. I helped Erik and his collegues to setup Dafiti Mexico shopping platform. Erik implemented interfaces to several payment providers. Erik exceeded expectations in all tasks handed to him. He also discovered some issues in the core system we had to adopt. Erik completed all assignments on time and never failed to impress with great solutions.
5 5 0
In 2013 Erik contracted my Freelancer services for his Adobe CQ5/AEM team at Televisa for NA-AT Technologies. We were working together on the CMS. He helped me getting started quickly, explaining implementation details and making sure I have access to all the information and infrastructure I needed for my work. I was impressed by his profound knowledge of best practices for HTML, CSS and JS development, code analysis and testing. He refactored the CQ5 clientlibs – using his own prototyping framework, which reduced the size of frontend resources by 60-70% and implemented Bootstrap and SASS.
5 5 0
Having worked on numerous Wordpress & WooCommerce sites over the last years, I have tried almost everything to speed up and improve page rendering times. Here I will share my key findings with you, put together into 25 tutorials. I hope they help you to achieve a fast, performant and easily maintainable WooCommerce store. This is the Tutorial overview and introduction.
By Erik. Erik Pöhler's Weblog.Every developer, who has worked in a team, knows how painful merge conflicts can be. But there are some simple strategies that make your life as a developer easier and take the pain out of resolving and reduce the risk of running into merge conflicts.
By Erik. Erik Pöhler's Weblog.This is part 2 of my article series 25+ Tutorials on How to boost the performance of your WooCommerce store. This article focuses on completing the initial project setup of your Wordpress & Woocommerce store with a .env file where all your credentials and configurations can be stored in one place.
By Erik. Erik Pöhler's Weblog.This is part 6 of my article series 25+ Tutorials on How to boost the performance of your WooCommerce store. In this article we will take an in-depth look at transactional emails, and how to optimise your stores performance by deactivating non-essential emails and by sending email asynchronously to your customers.
By Erik. Erik Pöhler's Weblog.This is part 4 of my article series 25+ Tutorials on How to boost the performance of your WooCommerce store. This article shows you how to get started with automated Wordpress Deployments via GitHub Actions.
By Erik. Erik Pöhler's Weblog.This is part 7 of my article series 25+ Tutorials on How to boost the performance of your WooCommerce store. In this tutorial you will learn how to use the excellent Perfmatters Plugins. We will boost the frontend performance of our Wordpress & WooCommerce store by joining and minifying CSS and JS resources using tools like Gulp or Grunt.
By Erik. Erik Pöhler's Weblog.I use open-source software everyday. Giving back to open-source communities is important to me. I improve existing code by reporting and fixing bugs. I develop new features, design themes or simply help other users.


GitHub / CodePen / Stack Overflow / LinkedIn / Xing / Twitter / Instagram / Mixcloud