Although my Mac comes with an NVMe drive and 64 Gigabyte of RAM, Eclipse IDE takes quite some time to rebuild projects. Each time I switch between branches, I usually run composer install as well. Thus, I want Eclipse IDE to rebuild my project so that auto-completion and code suggest works.
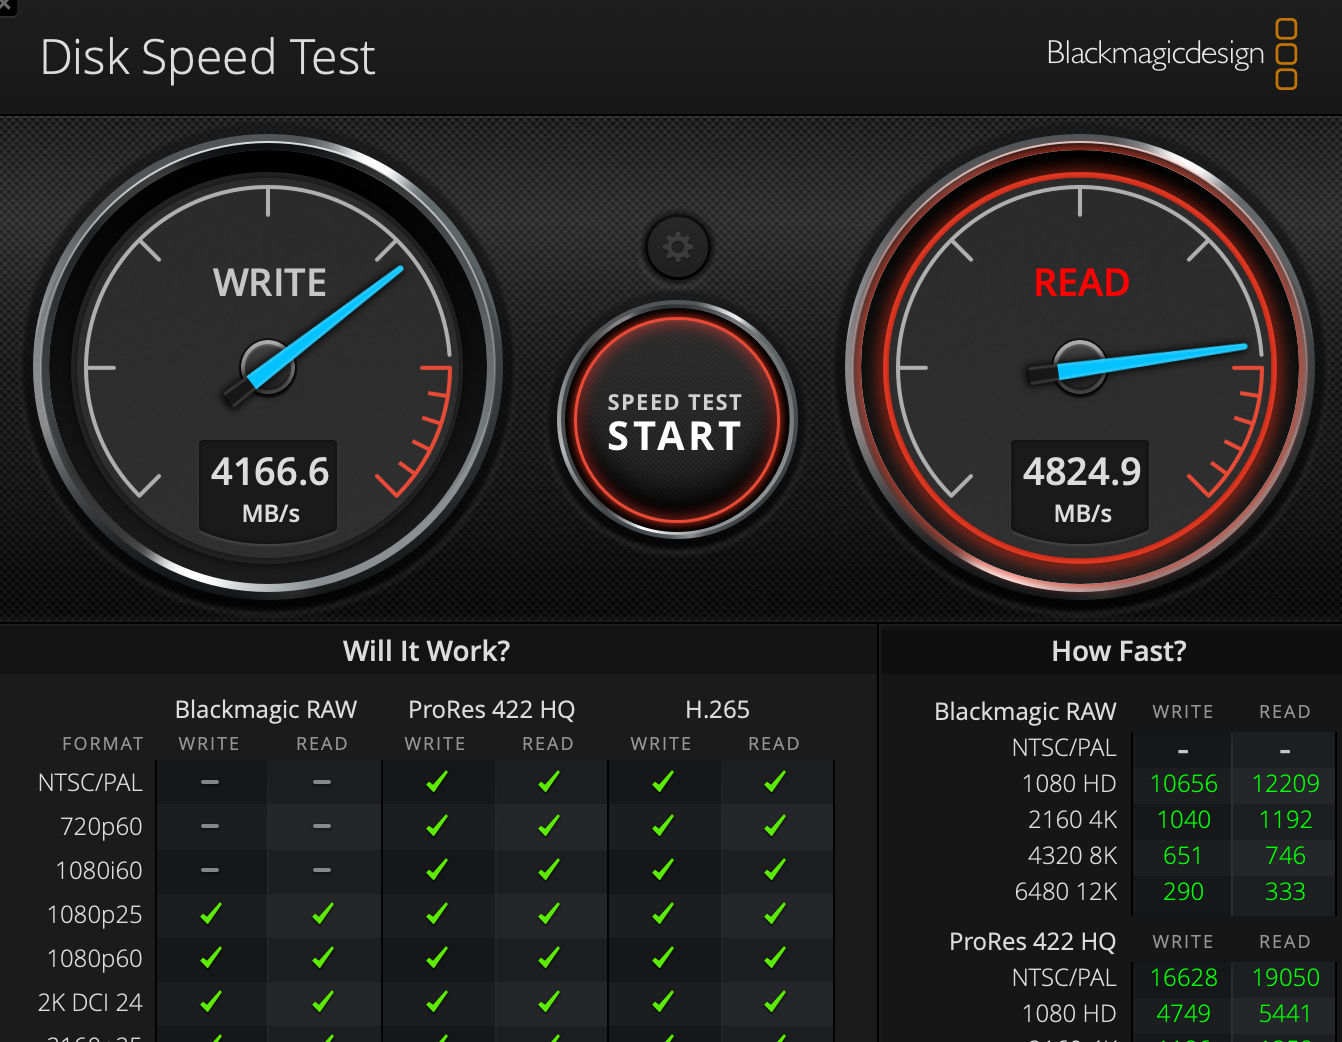
Looking through some performance tips, many people recommend using a RAM disk. It surprises me, that in 2022, with all the new hardware and technology, new versions of operating systems, a RAM disk is actually a huge performance benefit. The reason for the extra performance is quite simple: although my NVMe drive can read and write about 2.5 GB/s, the RAM (2400 MHz DDR4) delivers 5 GB/s read and write performance and access times are much faster, too.
So what do we need?
- A tiny script that runs a bash script on every login
- A bash script that does all the work: create the RAM disk, install Eclipse and the latest JRE, sync my persistent storage workspace to the volatile RAM disk
- An eclipse.ini with adjusted JRE paths and other performance tweaks
- Some extra privileges for my macOS user
- A cronjob, that syncs the volatile workspace back to the persistent one on my SSD every 5 minutes using rsync
Let’s open up Terminal and start by creating a folder where we can place files that we need for this.
cd ~
mkdir .tools
cd .tools
Getting the installers
Now we want to download the full installers for the latest Java JRE and Eclipse. You can download Java from https://adoptium.net/temurin/releases/?version=18 or from https://github.com/adoptium/temurin18-binaries/releases. Download the latest version of the Java JRE pkg installer and save it to your new ~/.tools folder. Alternatively, if you want to stay in Terminal, you can also get the actual download URL with this:
curl -XGET 'https://api.adoptium.net/v3/assets/latest/18/hotspot?os=mac&architecture=x64&image_type=jre&' #intel
curl -XGET 'https://api.adoptium.net/v3/assets/latest/18/hotspot?os=mac&architecture=aarch64&image_type=jre&' #apple arm
In the JSON response look for the installer link, copy the URL and download it, in my case:
curl -O -J 'https://github.com/adoptium/temurin18-binaries/releases/download/jdk-18.0.1%2B10/OpenJDK18U-jre_x64_mac_hotspot_18.0.1_10.pkg'
Now to download Eclipse PDT 2022-06 do one of:
curl -O -J 'https://ftp.linux.org.tr/eclipse//technology/epp/downloads/release/2022-06/R/eclipse-php-2022-06-R-macosx-cocoa-x86_64.dmg' # intel
curl -O -J 'https://ftp.snt.utwente.nl/pub/software/eclipse/technology/epp/downloads/release/2022-06/R/eclipse-php-2022-06-R-macosx-cocoa-aarch64.dmg' #apple arm
Login Script
Open the Script Editor and paste this line
do shell script "/bin/zsh $HOME/.tools/worker.sh"
Click on File > Save… choose the ~/.tools folder as destination, name it worker.app and choose the file format Application.
Now open your System Preferences. Go to Users & GroupsLogin Items tab. Now click + and add the ~/.tools/worker.app.
What this does is run your new app every time you login to your account, the app just executes the bash script.
eclipse.ini
Save a modified eclipse.ini to the ~/.tools folder.
~/tools/eclipse.ini-vm
../../../../Library/Java/JavaVirtualMachines/temurin-18.jre/Contents/Home/bin
-startup
../Eclipse/plugins/org.eclipse.equinox.launcher_1.6.400.v20210924-0641.jar
--launcher.library
../Eclipse/plugins/org.eclipse.equinox.launcher.cocoa.macosx.x86_64_1.2.500.v20220509-0833
-product
org.eclipse.epp.package.php.product
-showsplash
org.eclipse.epp.package.common
--launcher.defaultAction
openFile
--launcher.defaultAction
openFile
--launcher.appendVmargs
-vmargs
-Dosgi.requiredJavaVersion=11
-Dosgi.instance.area.default=@user.home/eclipse-workspace
-Dsun.java.command=Eclipse
-XX:+UseG1GC
-XX:+UseStringDeduplication
-XX:+AggressiveOpts
-XX:PermSize=512m
-XX:MaxPermSize=512m
--add-modules=ALL-SYSTEM
-XstartOnFirstThread
-Dorg.eclipse.swt.internal.carbon.smallFonts
-Dosgi.requiredJavaVersion=11
-Dosgi.dataAreaRequiresExplicitInit=true
-Dorg.eclipse.swt.graphics.Resource.reportNonDisposed=true
-Xss10m
-Xmn512m
-Xms2048m
-Xmx2048m
--add-modules=ALL-SYSTEM
-Xdock:icon=../Resources/Eclipse.icns
-XstartOnFirstThread
-Dorg.eclipse.swt.internal.carbon.smallFonts
-Xverify:none
-Xquickstart
Note that I added a relative path for the VM, so no JAVA_HOME or PATH needs to be set in your profile.
Bash script
~/.tools/worker.sh#!/bin/zsh
# Creates RAM Volume - choose sizes 8388608 (4GB), 16777216 (8GB) or 33554432 (16GB) as fits your needs
diskutil erasevolume HFS+ 'Volatile Disk' `hdiutil attach -nobrowse -nomount ram://33554432`
# prevent Spotlight from indexing our volatile disk
mdutil -i off -d /Volumes/Volatile\ Disk

# Install Eclipse PDT
mkdir /Volumes/Volatile\ Disk/Applications
hdiutil attach ~/.tools/eclipse-php-2022-06-R-macosx-cocoa-x86_64.dmg
cp -r /Volumes/Eclipse/Eclipse.app /Volumes/Volatile\ Disk/Applications
hdiutil detach $(hdiutil info | grep /Volumes/Eclipse  | grep -Eo "^(.*?)\t" | grep -m1 "")
codesign --force --deep --sign - /Volumes/Volatile\ Disk/Applications/Eclipse.app
xattr -d -r com.apple.quarantine /Volumes/Volatile\ Disk/Applications/Eclipse.app
chmod +x /Volumes/Volatile\ Disk/Applications/Eclipse.app/Contents/MacOs/eclipse
cp ~/.tools/eclipse.ini /Volumes/Volatile\ Disk/Applications/Eclipse.app/Contents/Eclipse

# Install latest JRE 18
sudo /usr/sbin/installer -pkg ~/.tools/OpenJDK18U-jre_x64_mac_hotspot_18.0.1_10.pkg -target /Volumes/Volatile\ Disk/

# Set up workspace
cp -r ~/workspace /Volumes/Volatile\ Disk
chown -R $(whoami):staff /Volumes/Volatile\ Disk/workspace

# (optional) add workspace to valet
cd /Volumes/Volatile\ Disk/workspace && sudo $(which valet) park
Let’s go over this file briefly. We create the RAM disk, then mount the Eclipse installer, we copy Eclipse over to the RAM disk and unmount the installer volume afterwards.
With codesign, xattr and chmod we make sure the App can be launched. We copy our eclipse.ini to its location inside the App.
Once that is done, we install the Java 18 JRE package onto the RAM disk. Now we copy the entire workspace (you might want to adjust this path) from the SSD over to the RAM disk. Keep in mind, that your workspace needs to fit into the RAM disk. If it doesn’t, you can either increase the size of the RAM disk or remove projects you no longer work on.
sudoers
The macOS installer and codesign will require an admin password. In order to run this without user interaction, we will edit the sudoers file. This is done with sudo visudo. After the line starting with %admin, add a new one and replace <user> with your actual username.
Type sudo visudo to open the sudoers file with the default editor (likely to be vim), or with EDITOR=nano sudo visudo to open it with nano.
<user> ALL = (ALL) NOPASSWD: /usr/sbin/installer,/usr/sbin/codesign,/usr/local/bin/valet
A Cronjob to sync Workspaces
In order not to loose any data, it’s important to frequently sync your workspace from the volatile RAM disk back to your permanent storage, most likely an internal SSD.
For this we will copy and paste the following line into the crontab file.
*/5 * * * * rsync -r -l -a --safe-links /Volumes/Volatile\ Disk/workspace/* ~/workspace
The rsync will run every 5 minutes. The -l parameter makes sure symlinks are respected. The -a parameter instructs rsync to set modification timestamps once, so that subsequent are incremental. Only files that have been modified will be copied, which speeds this up a lot.
This is it. Restart your Mac and some 30 seconds after you log your should be able to open Eclipse from your Volatile Disk > Applications folder, at full RAM speeds. For me, Eclipse starts in 3 seconds now, which was about 10 seconds before. Complete workspace and project builds now finish in 20-40 seconds. For projects with large codebase, this previously took several minutes.
Another tip, I haven’t seen anywhere else ist to exclude your permanent and volatile workspace folders from Spotlight, so that changes to your projects don’t trigger the Spotlight indexer, which consumes quite some CPU. Go to System Preferences > Spotlight > Open the Privacy tab and add your workspace folders.
Conclusion
We now have Java and Eclipse installed on the RAM disk. The workspace is also on the RAM disk. All of this is setup automatically when you login. A cronjob copies your workspace to your SSD in the background.
Neither Eclipse nor any Java JDK or JRE needs to be installed onto your SSD.
Update April 2023
I modified the worker.app contents to include the executables’ path (/bin/zsh) to prevent permission errors.
After having written this article, I have actually switched to Visual Studio Code. Still, as a side note on Eclipse IDE: two weeks ago, development on PHP8 support began.
Nonetheless, although being impressed with VSC performance, I noticed that I came back to this article as a reference on quite many occasions: mainly for these purposes: preventing Spotlight from indexing web development folders on my disk makes sense no matter what IDE you use.
A RAM disk has more use cases than only an IDE, JDK and so forth. They are perfect for any disk heavy task such as npm or pnpm or even homebrew. Or even as a scratch disk for Photoshop, or to boost performance on older laptops with plenty of memory.
Update June, July 2023
In May 2023 the first nightly builds appeared with PHP 8.x support. With the latest Eclipse PDT 2023-06 PHP 8.x support is now official.


